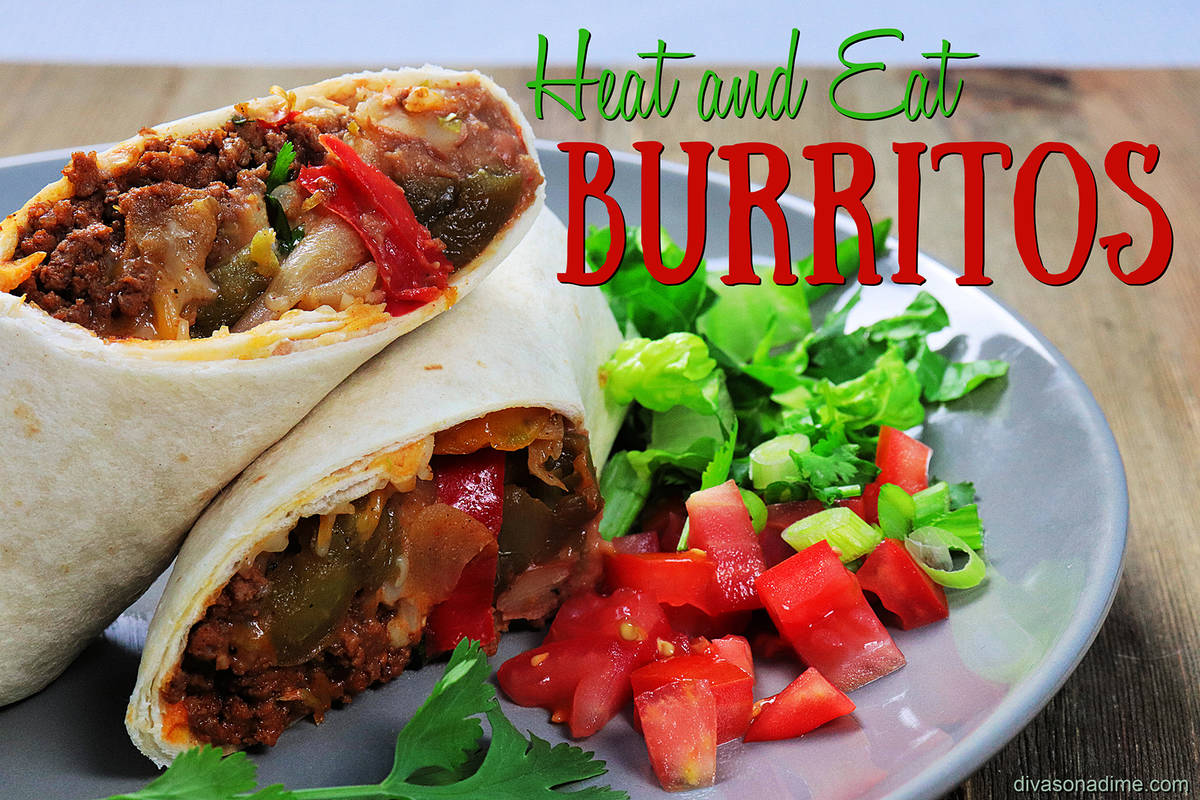
Homemade burritos make quick, easy lunch
Life is complicated, right? This year has been particularly complicated. So, I’m suggesting we make one thing very uncomplicated. Let’s put lunch on autopilot. Honestly, making lunch is the last thing you want to hold you up in the middle of the day.
You can make a bunch of delicious heat-and-eat burritos to stash in your freezer for quick lunch, snack or dinner on demand.
Compared to commercially frozen burritos, these taste better and are far healthier. Just look at the ingredients on frozen burrito packaging if you need further convincing.
In addition to a recipe, I’m sharing a technique you can use to make any variety of belly-filling burritos. These are easy, inexpensive, delicious and you get to choose exactly what you want in them.
The burrito rule of thumb is one generous cup of filling for each 10-inch tortilla. If you’re making eight burritos, you’ll need eight cups filling. For example: To make chicken, vegetable and rice burritos you could prepare two cups of cooked chicken, three cups of cooked vegetables, two cups of rice and one cup of cheese. If it totals eight cups, you’ll have enough filling to for eight belly-filling burritos.
You’ll want burrito-sized flour tortillas for this purpose. They come in packages of eight so that’s the quantity used for this recipe. When I go to the effort of making burritos to freeze, I typically make a whole bunch, so this recipe easily multiplies.
Because these will be frozen, don’t use ingredients that wouldn’t freeze well or that you wouldn’t want to eat hot. So don’t add lettuce, raw tomato or avocado. Save your salsa fresca, guacamole and sour cream for serving time.
One issue people have with making burritos at home is folding them so they don’t burst and make a mess. My tip: Don’t overfill them. A 10-inch tortilla can handle no more than 1½ cups of filling and using less makes folding even easier.
How to fold a burrito: Warm the tortillas for easier handling, either individually in the microwave for 10 seconds each, or heat the whole package in the oven by wrapping the tortillas in foil and heating for 10 minutes at 350 F. Spoon the filling onto each tortilla just below the center. First, fold in the sides that are perpendicular to the line of ingredients. Pull the bottom edge over the top, squeezing the filling in as you roll the burrito away from you. Continue rolling, leaving the seam at the bottom.
How to freeze a burrito: Place burritos seam side down on individual pieces of foil. Wrap tightly in the same manner as you folded the tortillas. Use a marker to date and label them. Place in a freezer-safe bag and freeze for up to three months.
How to heat a burrito: Take a burrito from the freezer, remove the foil and wrap it in a damp paper towel. Place the wrapped burrito on a plate and microwave on high for two to three minutes, until heated through. You can also heat foil-wrapped burritos in the oven at 350 F for 20 minutes. That’s best for heating several at once.
Ordinarily when life is complicated, I’d suggest taking something off your plate. Instead I’m suggesting putting something on your plate that’s delectably easy. Buen provecho.
BEEF AND BEAN BURRITOS
Yield: 8 burritos
What you’ll need:
2 pounds (85/15) ground beef
1 8-ounce can tomato sauce
Taco seasoning, purchased or homemade, to taste
1 16-ounce bag frozen pepper and onion blend, optional
1 15.5-ounce can refried beans
2 cups cooked rice
1 cup shredded cheese
8 burrito-sized flour tortillas
Here’s how:
In a large skillet heated to medium-high, cook the ground beef until no longer pink. Drain the excess fat and add the tomato sauce and taco seasoning, stirring to combine. If using, add the defrosted peppers and onions, squeezing most of the liquid out before adding, and cook thoroughly. Let cool.
Meanwhile, gather the rest of the ingredients and warm your tortillas. It’s unnecessary heat any of the other ingredients because we’re freezing these. Evenly divide ingredients between the tortillas and fold and freeze as directed above. The easiest way is to assembly line the process. It’s even better if you have extra hands.
Lifestyle expert Patti Diamond is a recipe developer and food writer of the website “Divas On A Dime – Where Frugal, Meets Fabulous!” Visit Patti at www.divasonadime.com and join the conversation on Facebook at DivasOnADimeDotCom. Email Patti at divapatti@divasonadime.com.


